Okay, you now have your shiny .NET Core app finished and ready. But now.. You are wondering, so how am I supposed to show this to the world? Do I just give them the URL localhost:42302? Well, if you’re that, you have definitely reached the right place.
In this post, I am going to show you how to deploy your very own .NET Core app on a Windows Server.
If this is your first time deploying a .NET app, I’d recommend you to go with a Windows server first because there’s less hiccups instead of going with a Linux server. It’s easy, has good GUI and generally a pleasant experience (even if Microsoft haters say otherwise). It is much more energising to see that you successfully deploy an app before moving towards a harder, less forgiving environment.
Prerequisites
These are several assumptions I am going to make:
- You are using Visual Studio to develop your .NET Core app.
- You have the money to purchase a new Windows Server VPS.
- You have the money to purchase a new domain.
What to expect
- I am going to deploy a .NET Core app to a brand new Windows Server
- I am not going to go into how to install a MSSQL Databasae.
1. Publish your app
Using Visual Studio, simply click Build > Publish.
Add a publish profile.
Select “Folder”.
Leave the Folder location at the default value.
Now, click “Publish”.
Your Solution will now be published at the folder you have selected before.
Purchase Windows Server
Get Windows Server VPS
First, what you have to do is get a Windows Server VPS.
After getting a Windows Server VPS, get the IP address of your server.
Domain
Buy Domain
Purchase your domain. You can purchase from Namecheap.
You can follow a video guide here: How to Buy Your Own .com Domain Name on Namecheap
Update your DNS
Point your DNS to your server.
Configure Web Server
Install MSSQL Server (if you need it)
If your .NET Core uses Microsoft SQL Server, now will be a good time to install it. You can skip this step if your app does not require Microsoft SQL Server to operate.
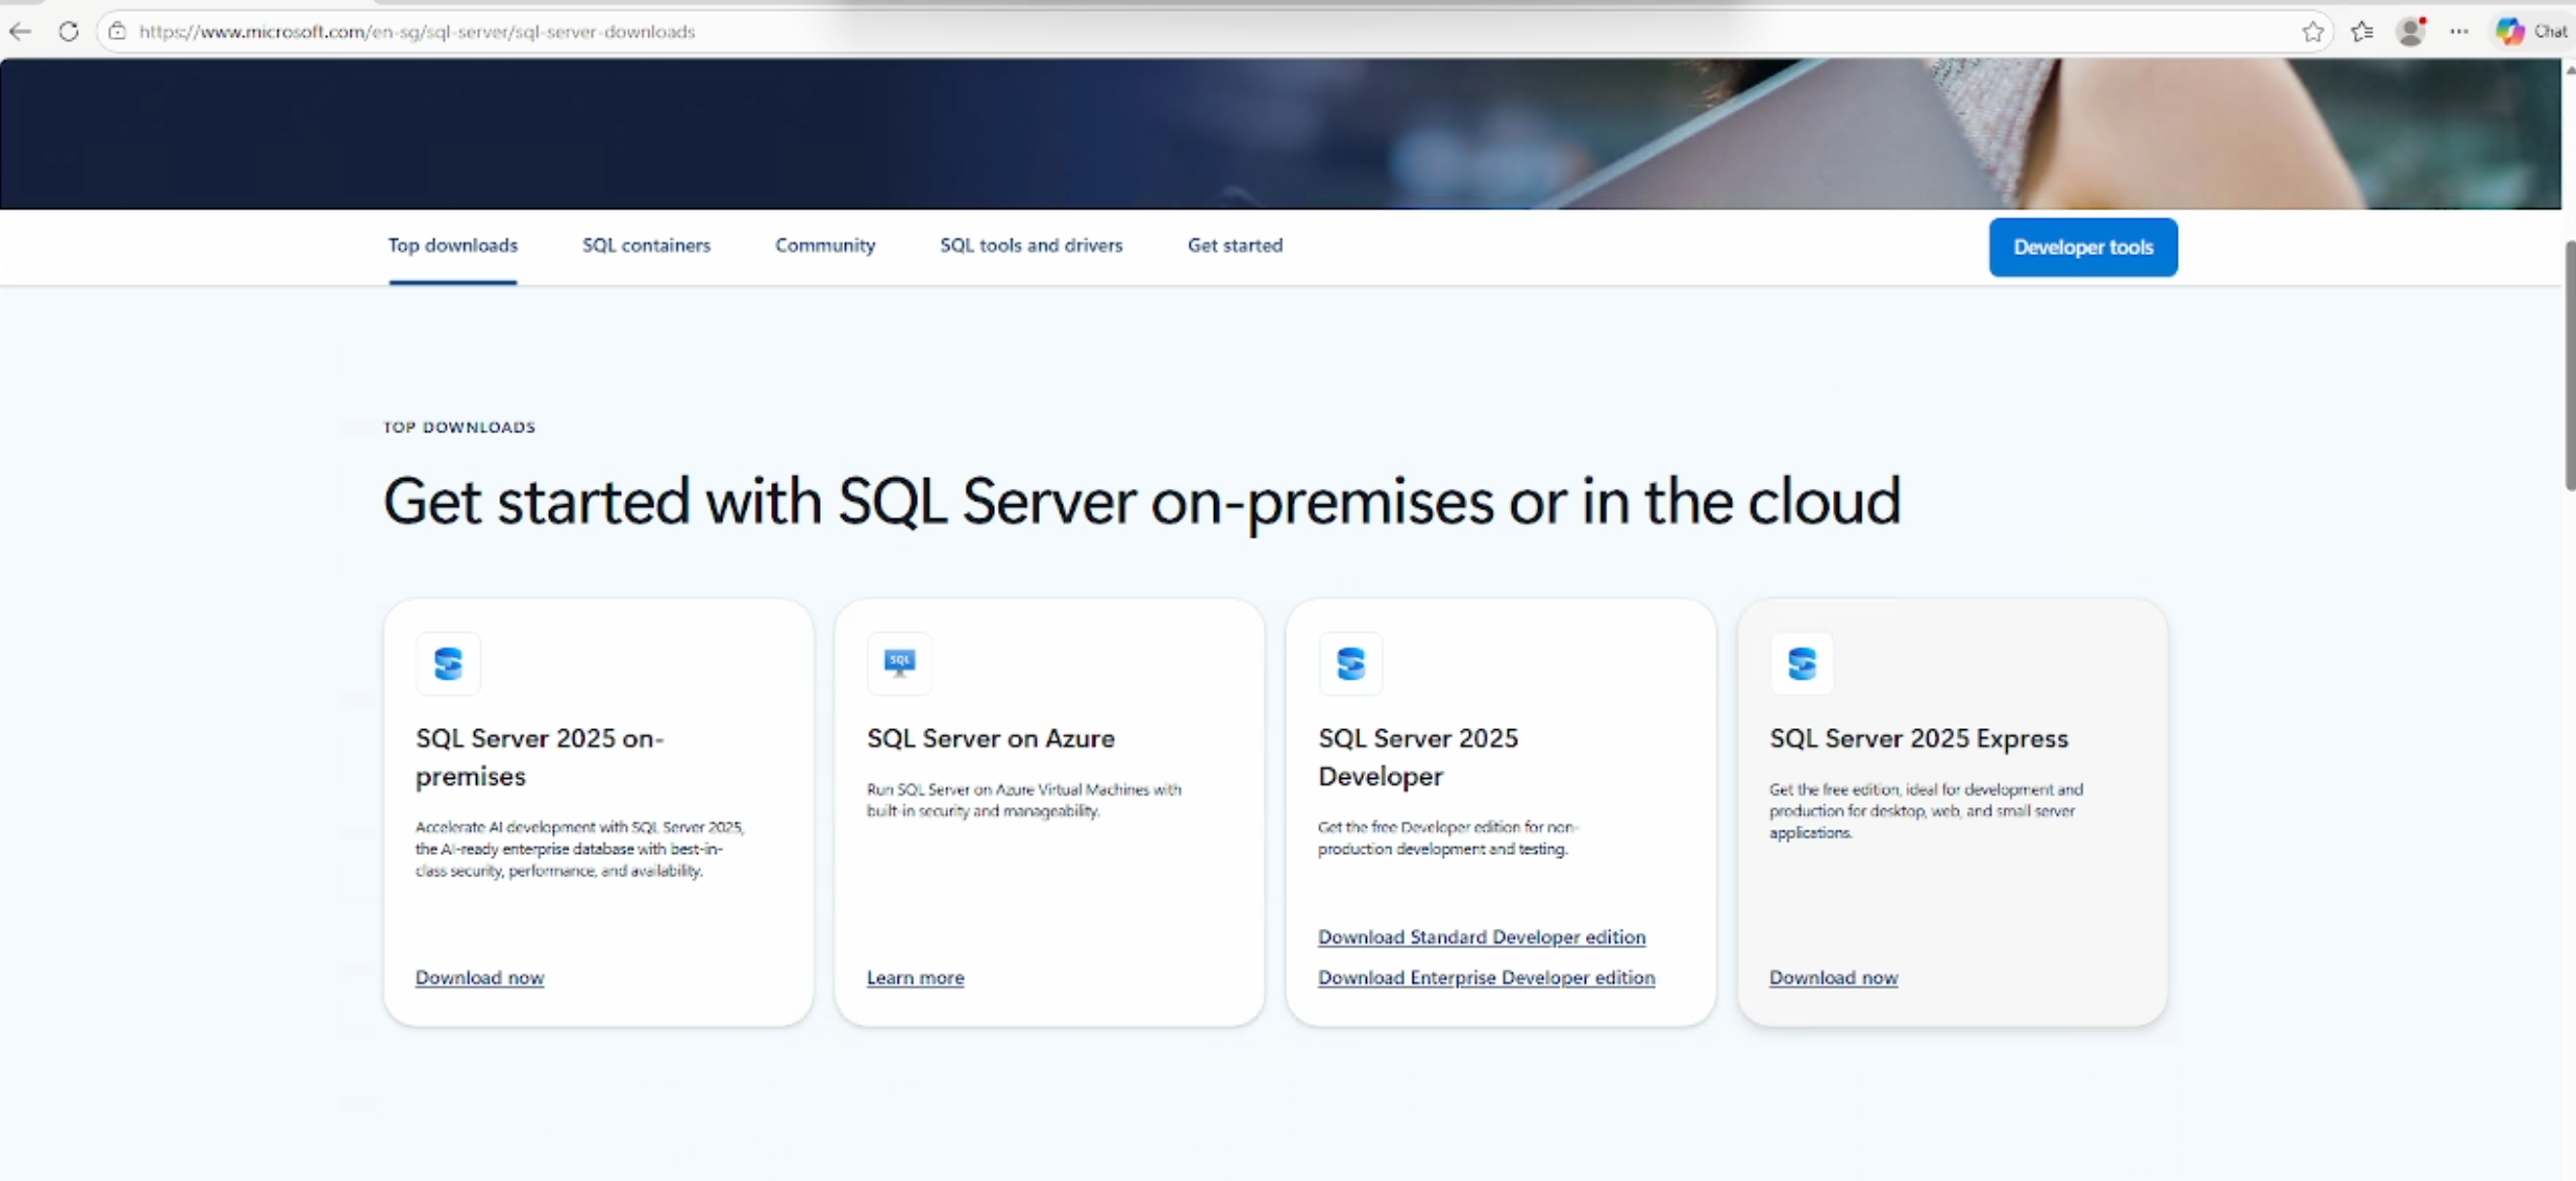
To install MSSQL Server, simply go to MSSQL Server Download. Select the Express edition, which is free and good enough for hobbyists.
After downloading, execute the installer. You will reach this screen.
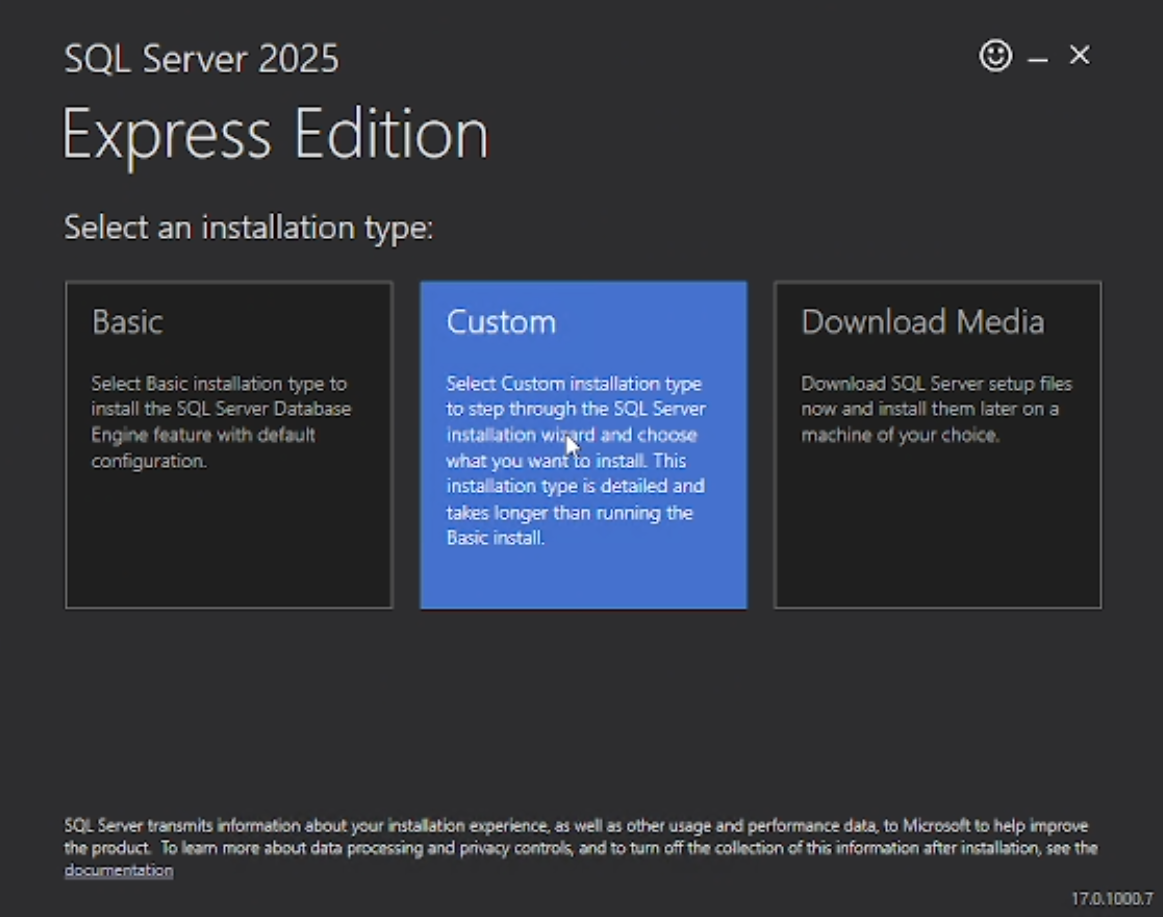
For our installation purpose, select Custom.
After selecting Custom, it will start downloading MSSQL Server into your computer. Simply wait until the download finishes.
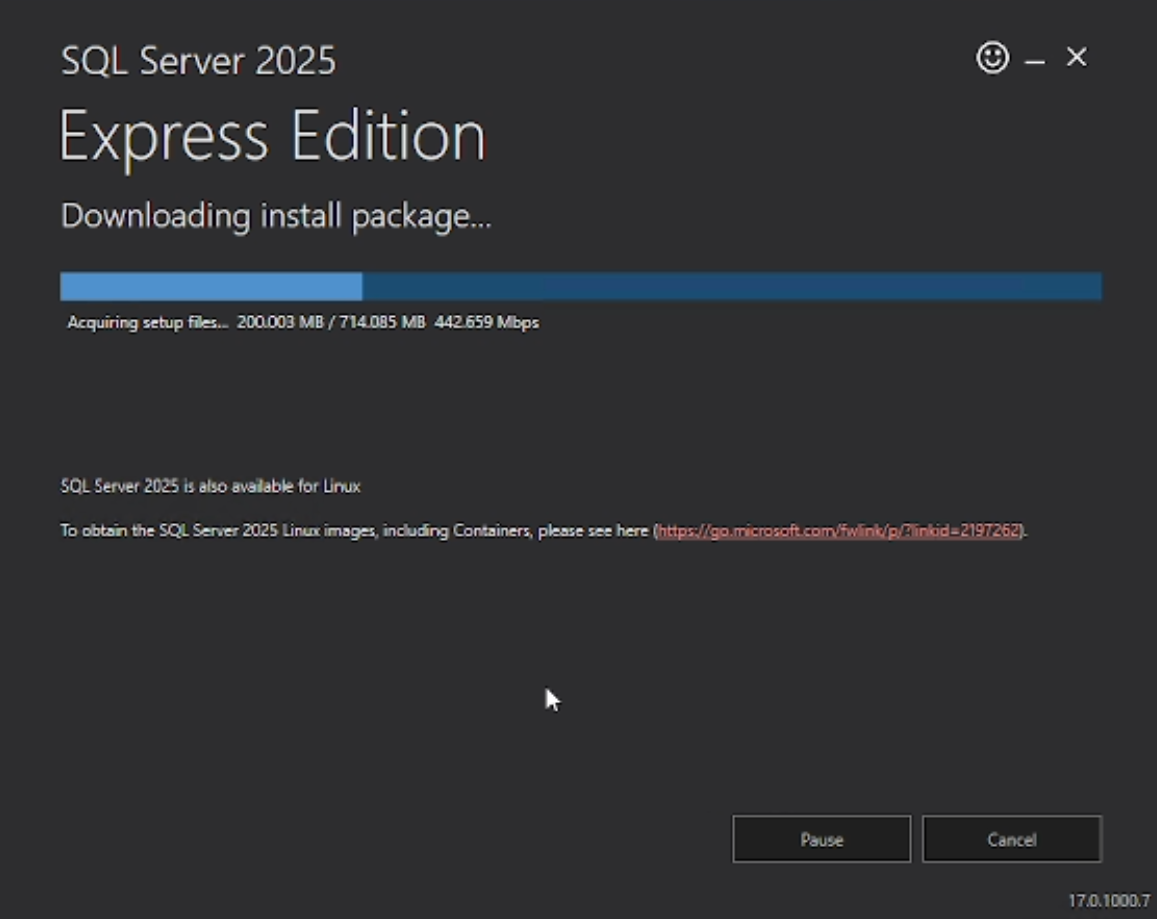
Once the download finishes, it will actually open another installer, which is called SQL Server Installation Center, but this time with lots more choice:
SQL Server Installation Center
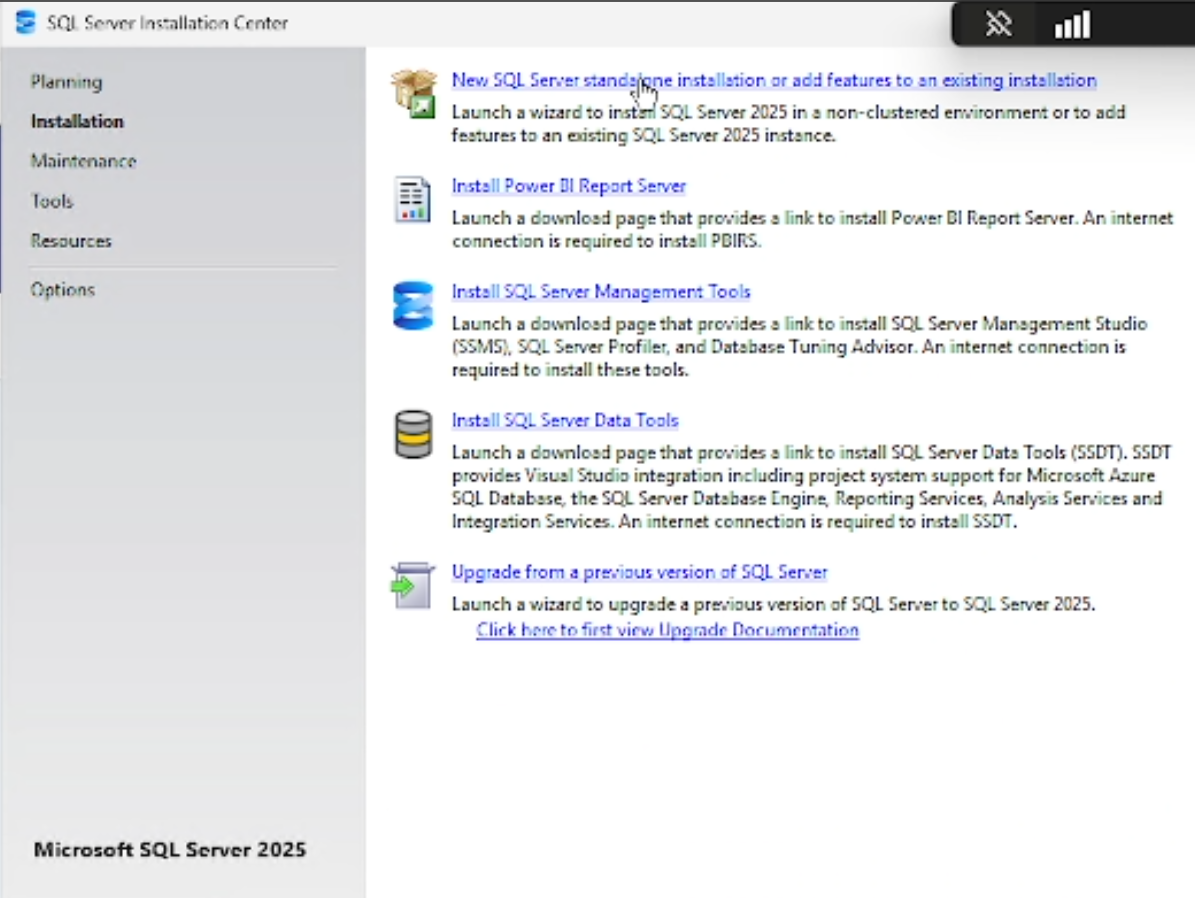
SQL Server Installation Center allows us to install SQL Server and a lot of other tools that we can use with SQL Server. It also can help us reinstall or manage the features available inside our SQL Server.
However, for this tutorial, we are only interested in installing a standalone SQL Server, so simply select “New SQL Server standalone installation” to continue with installing the SQL Server.
License Terms

It will then ask you to read and agree to the terms and condition. Just tick on “I accept the license terms and Privacy Statement” and click next.
Install Setup Files
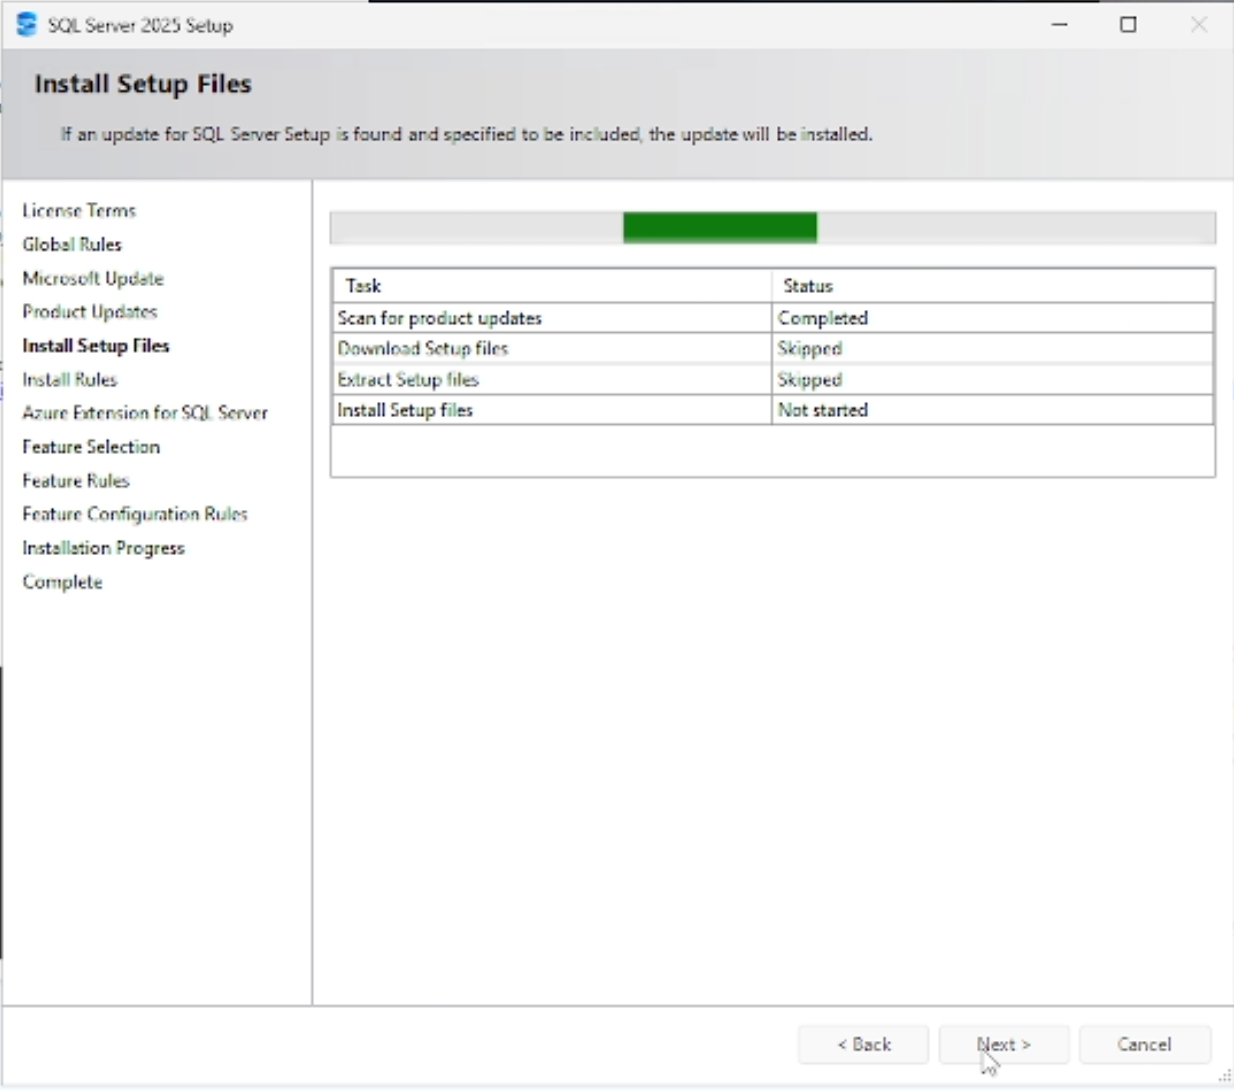
It will then proceed with installing the setup files for SQL Server (We have not installed SQL Server yet!). Just wait patiently until it completes.
Install Rules
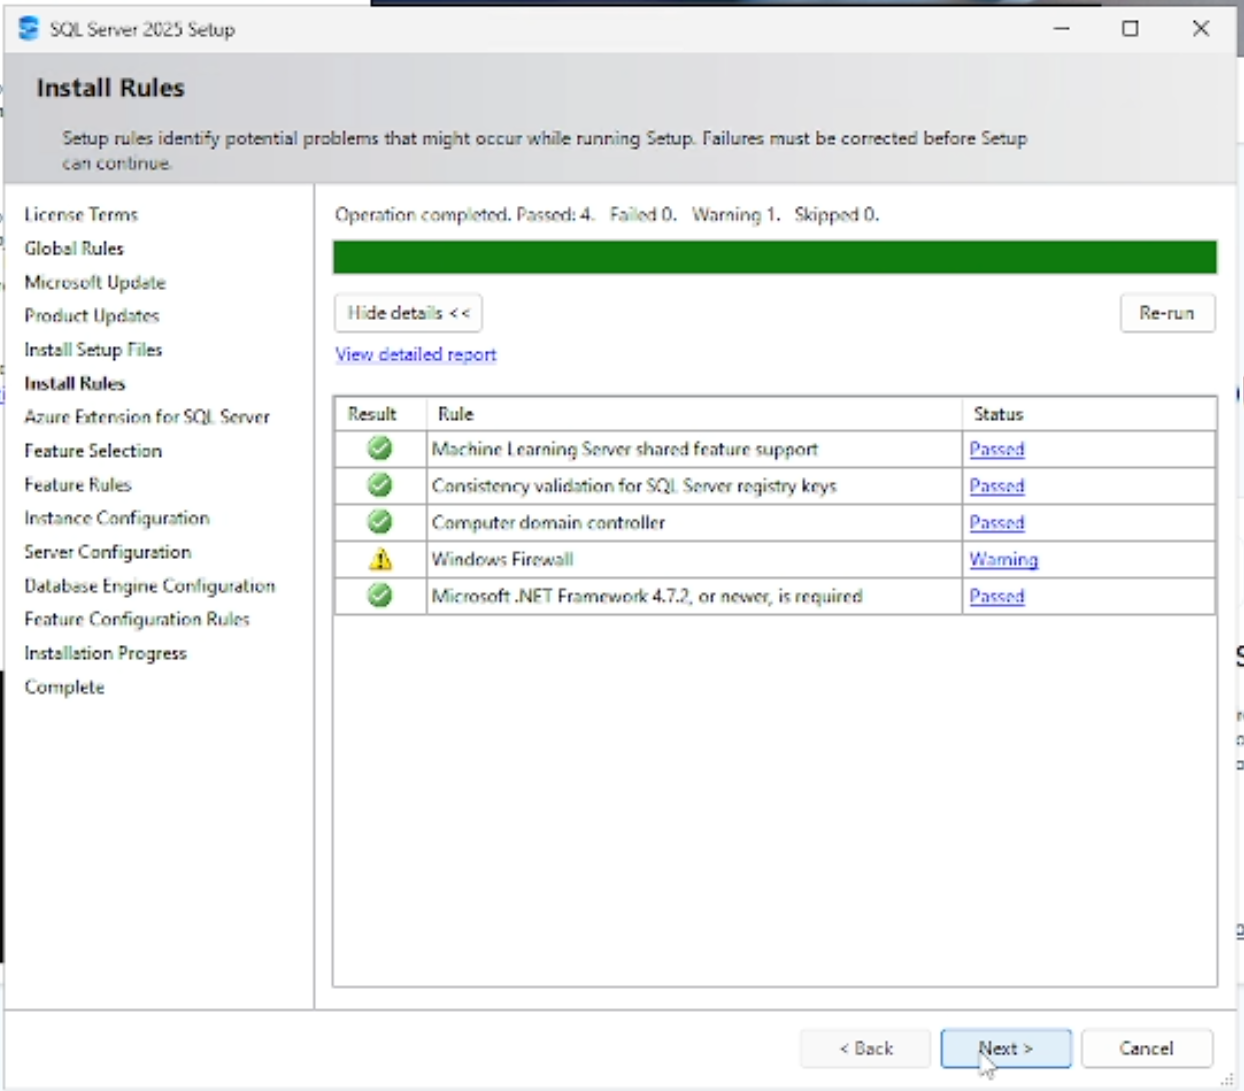
This screen does a pre-validation to check whether the server is ready to install SQL Server without any problems. It is wise to check each item if the status is not “Passed”.
If you get a Windows Firewall warning, it is usually fine to just ignore it because MSSQL Server will automatically set the Windows Firewall to allow the ports that SQL Server requires during the installation process.
Click Next to continue.
Azure Extension for SQL Server
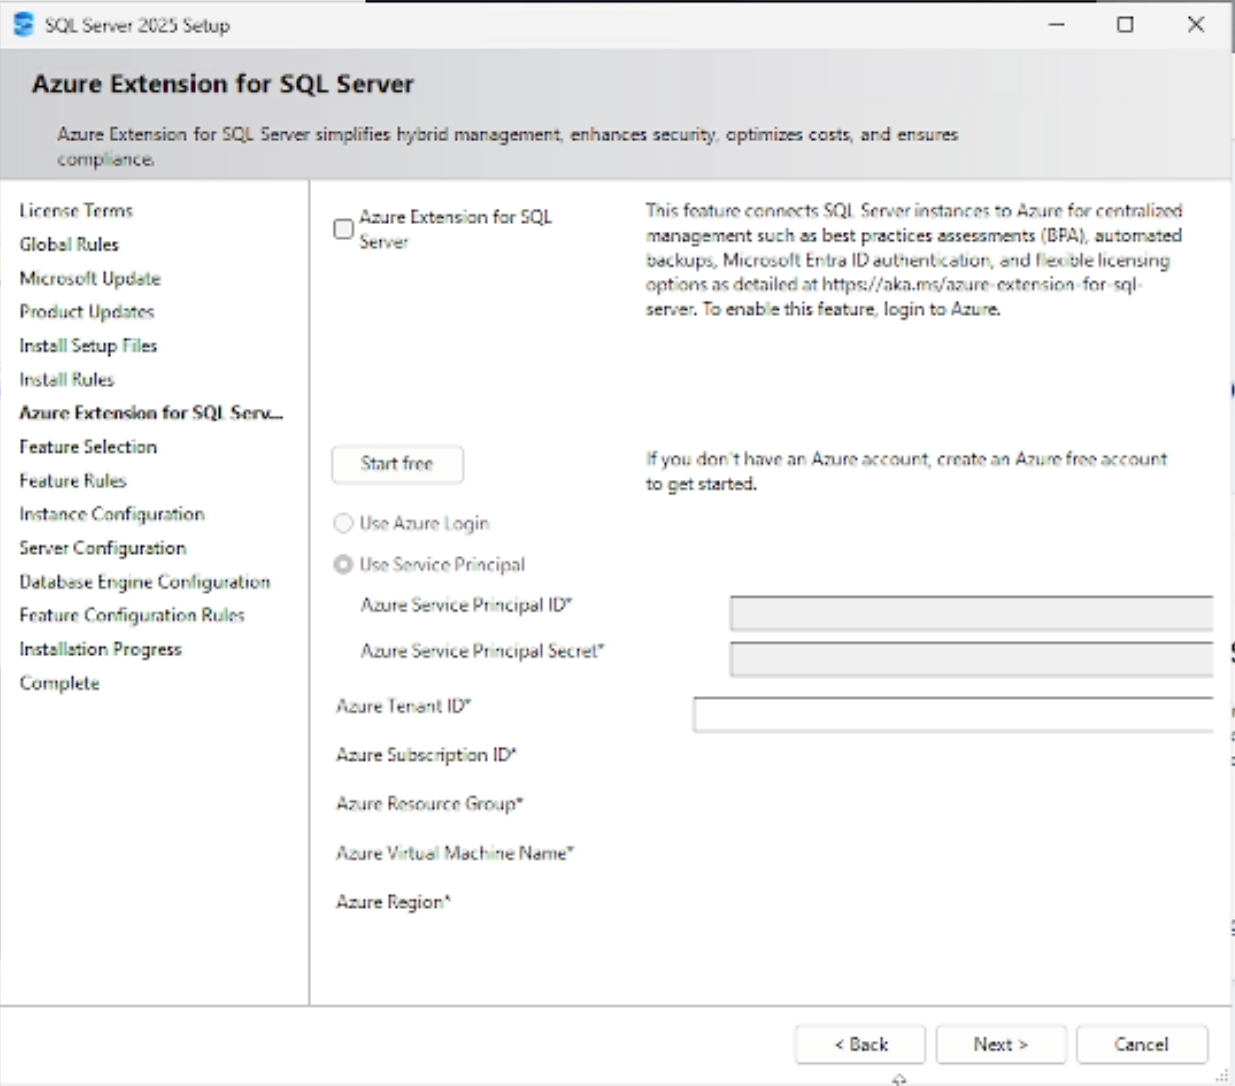
In this tutorial, we will not be using any Azure goodies, so leave it unchecked and click “Next”.
Feature Selection
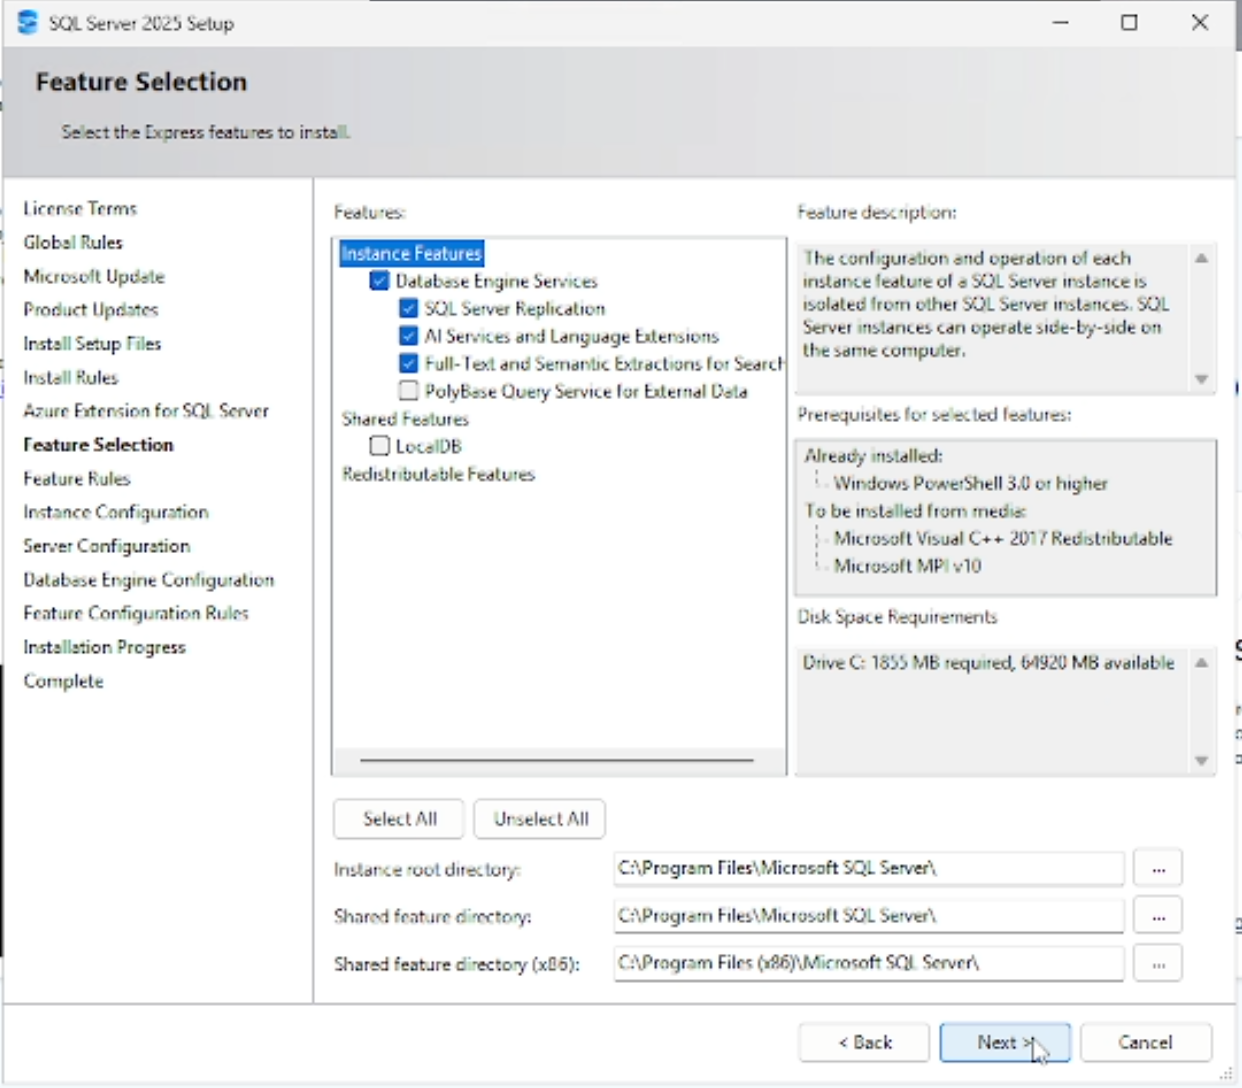
In the Feature Selection page, we are given the choice to set the Database Engine Services available for our Microsoft SQL Server.
For our purposes, only checking the “Database Engine Services” is fine. But it also does not hurt to also select the other options if you would like to try them.
Instance Configuraiton
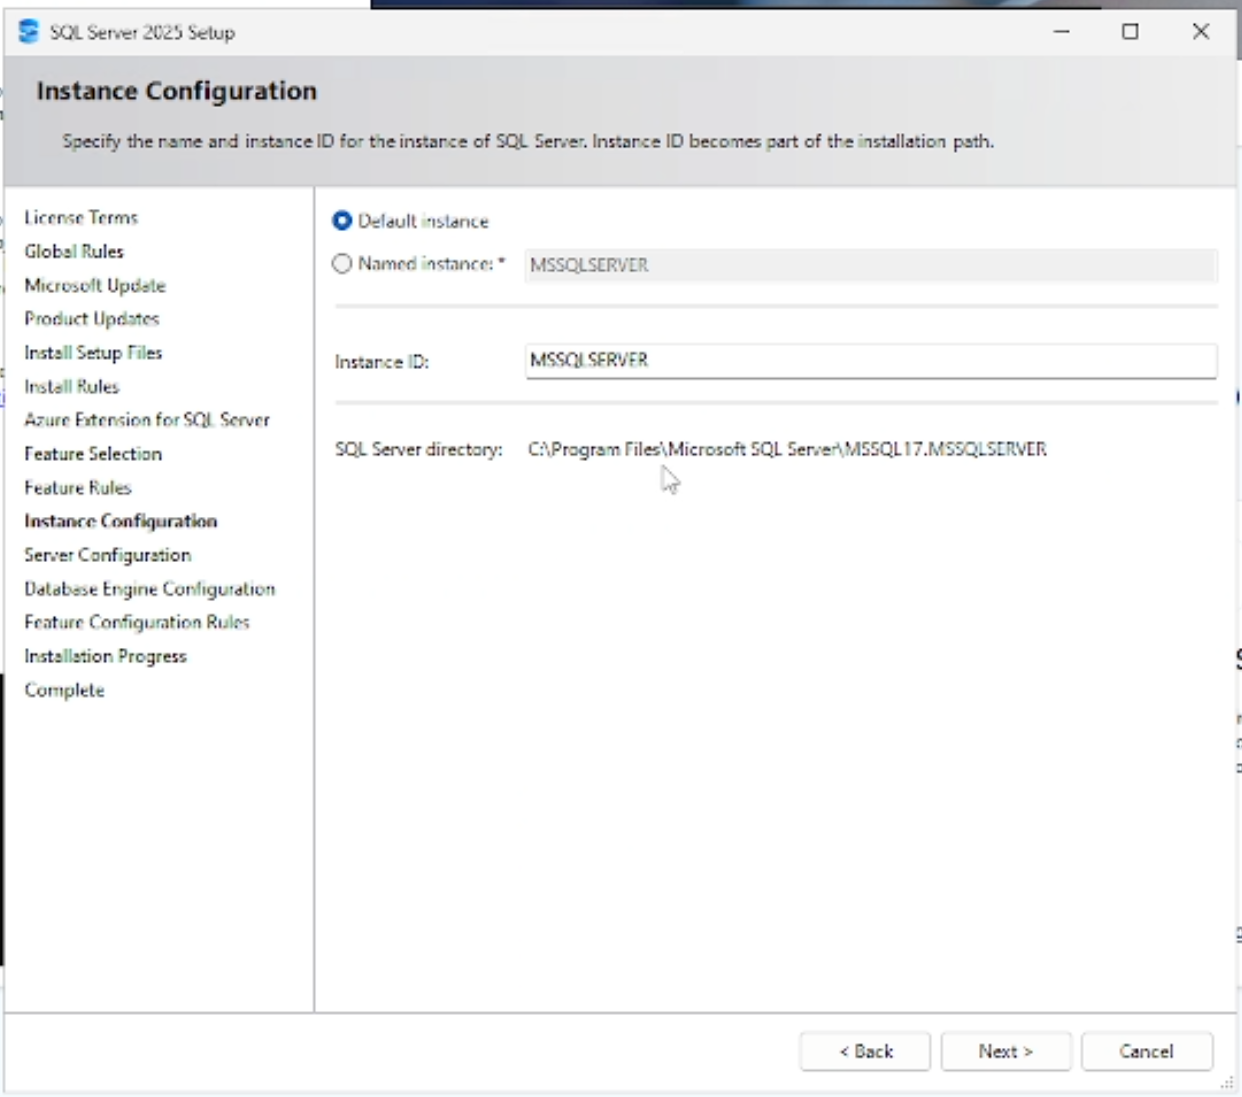
This section is important as it sets the name of the instance of our Microsoft SQL Server, which will also affect the connection strings that we will use to connect our .NET Core app to this SQL Server.
If you have chosen to install SQL Express edition, make sure to select the Default instance so that you will not be using a named instance. This allows consistent connection string for your .NET Core app.
Server Configuraiton
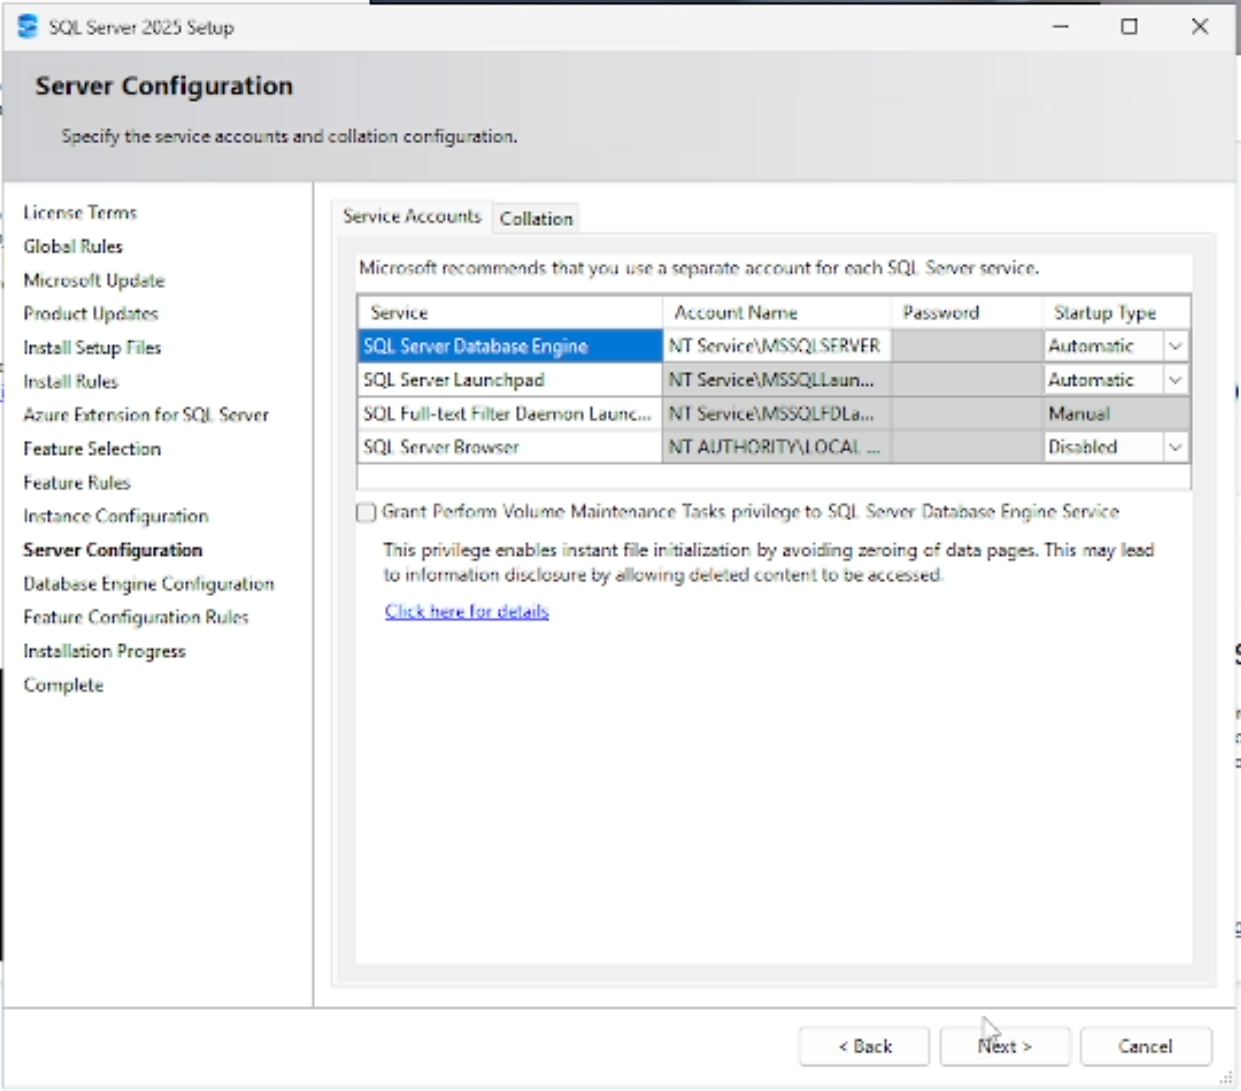
This screen allows you to set whether the SQL Server will immediately launch on start up or not. Simply leave the settings to its default settings and click Next.
Database Engine Configuration
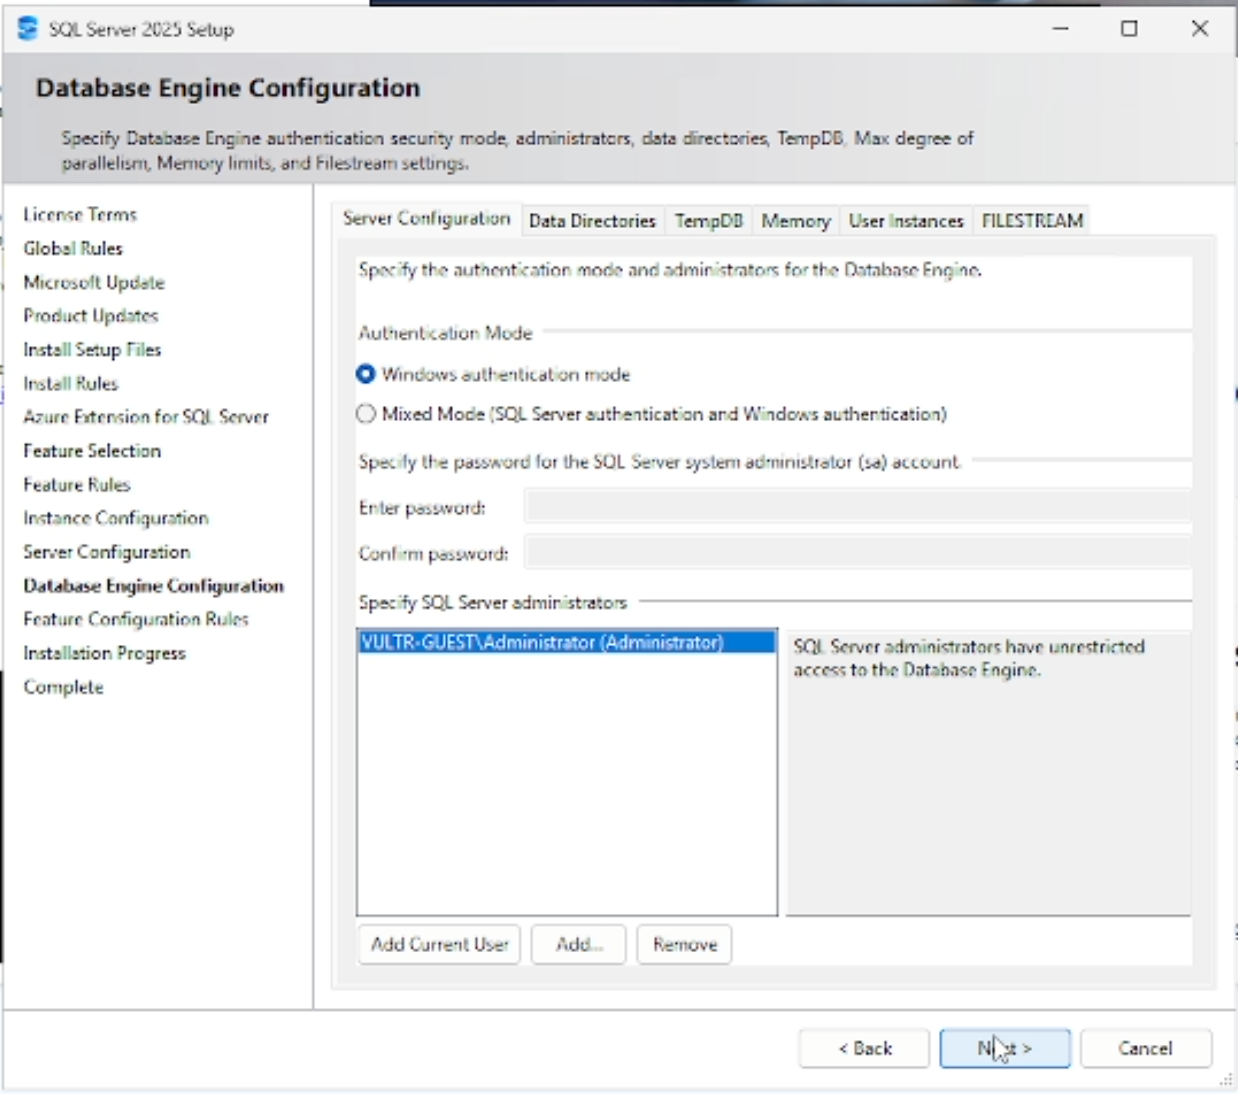
This screen allows you to configure the settings for the Database engine. Most notably, you can set the Authentication mode for the SQL Server.
If using Windows authentication mode, only users using the Windows local server accounts can access the SQL Server.
If using Mixed Mode, it means that people can also access the database only using username and password, without having to use the Windows authentication.
For our purpose, select “Mixed Mode” so that you can access the database using any method that you may need. This is also configurable when the SQL Server is running so there is no need to sweat the details now.
Click Next to proceed with installation.
Installation

Finally, we have completed selecting the configuration of the SQL Server and the installer is installing the SQL Server. Just wait until installation completes.
Installation Complete
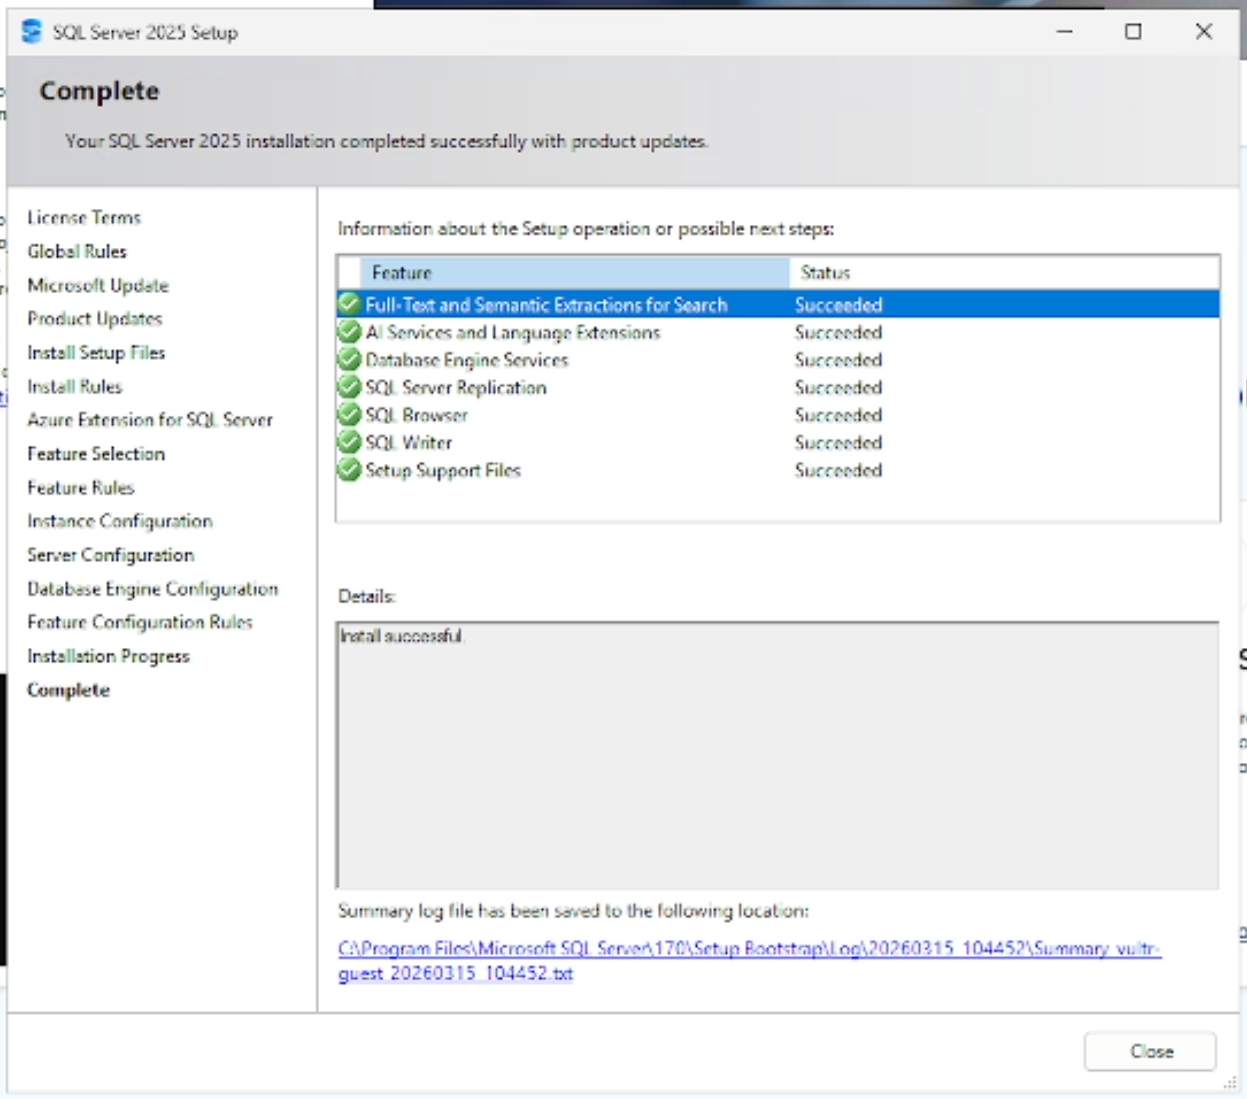
Congratulations, you have successfully installed Microsoft SQL Server.
However, we are not done yet. Even though you have installed SQL Server, you probably would want to install another software that allows you to configure the SQL Server and also view, insert or edit any data inside the database.
Install SQL Server Management Studio (if you installed MSSQL Server)
Even though we have installed SQL Server, we do not have the means to access the data inside the database (or at least, no simple way). SQL Server Management Studio is a software by Microsoft, to, guess, manage SQL Servers and view or modify its data using a graphical user interface.
In this tutorial, we will also be installing SQL Server Management Studio (SSMS) so that we can browse our newly installed SQL Server.
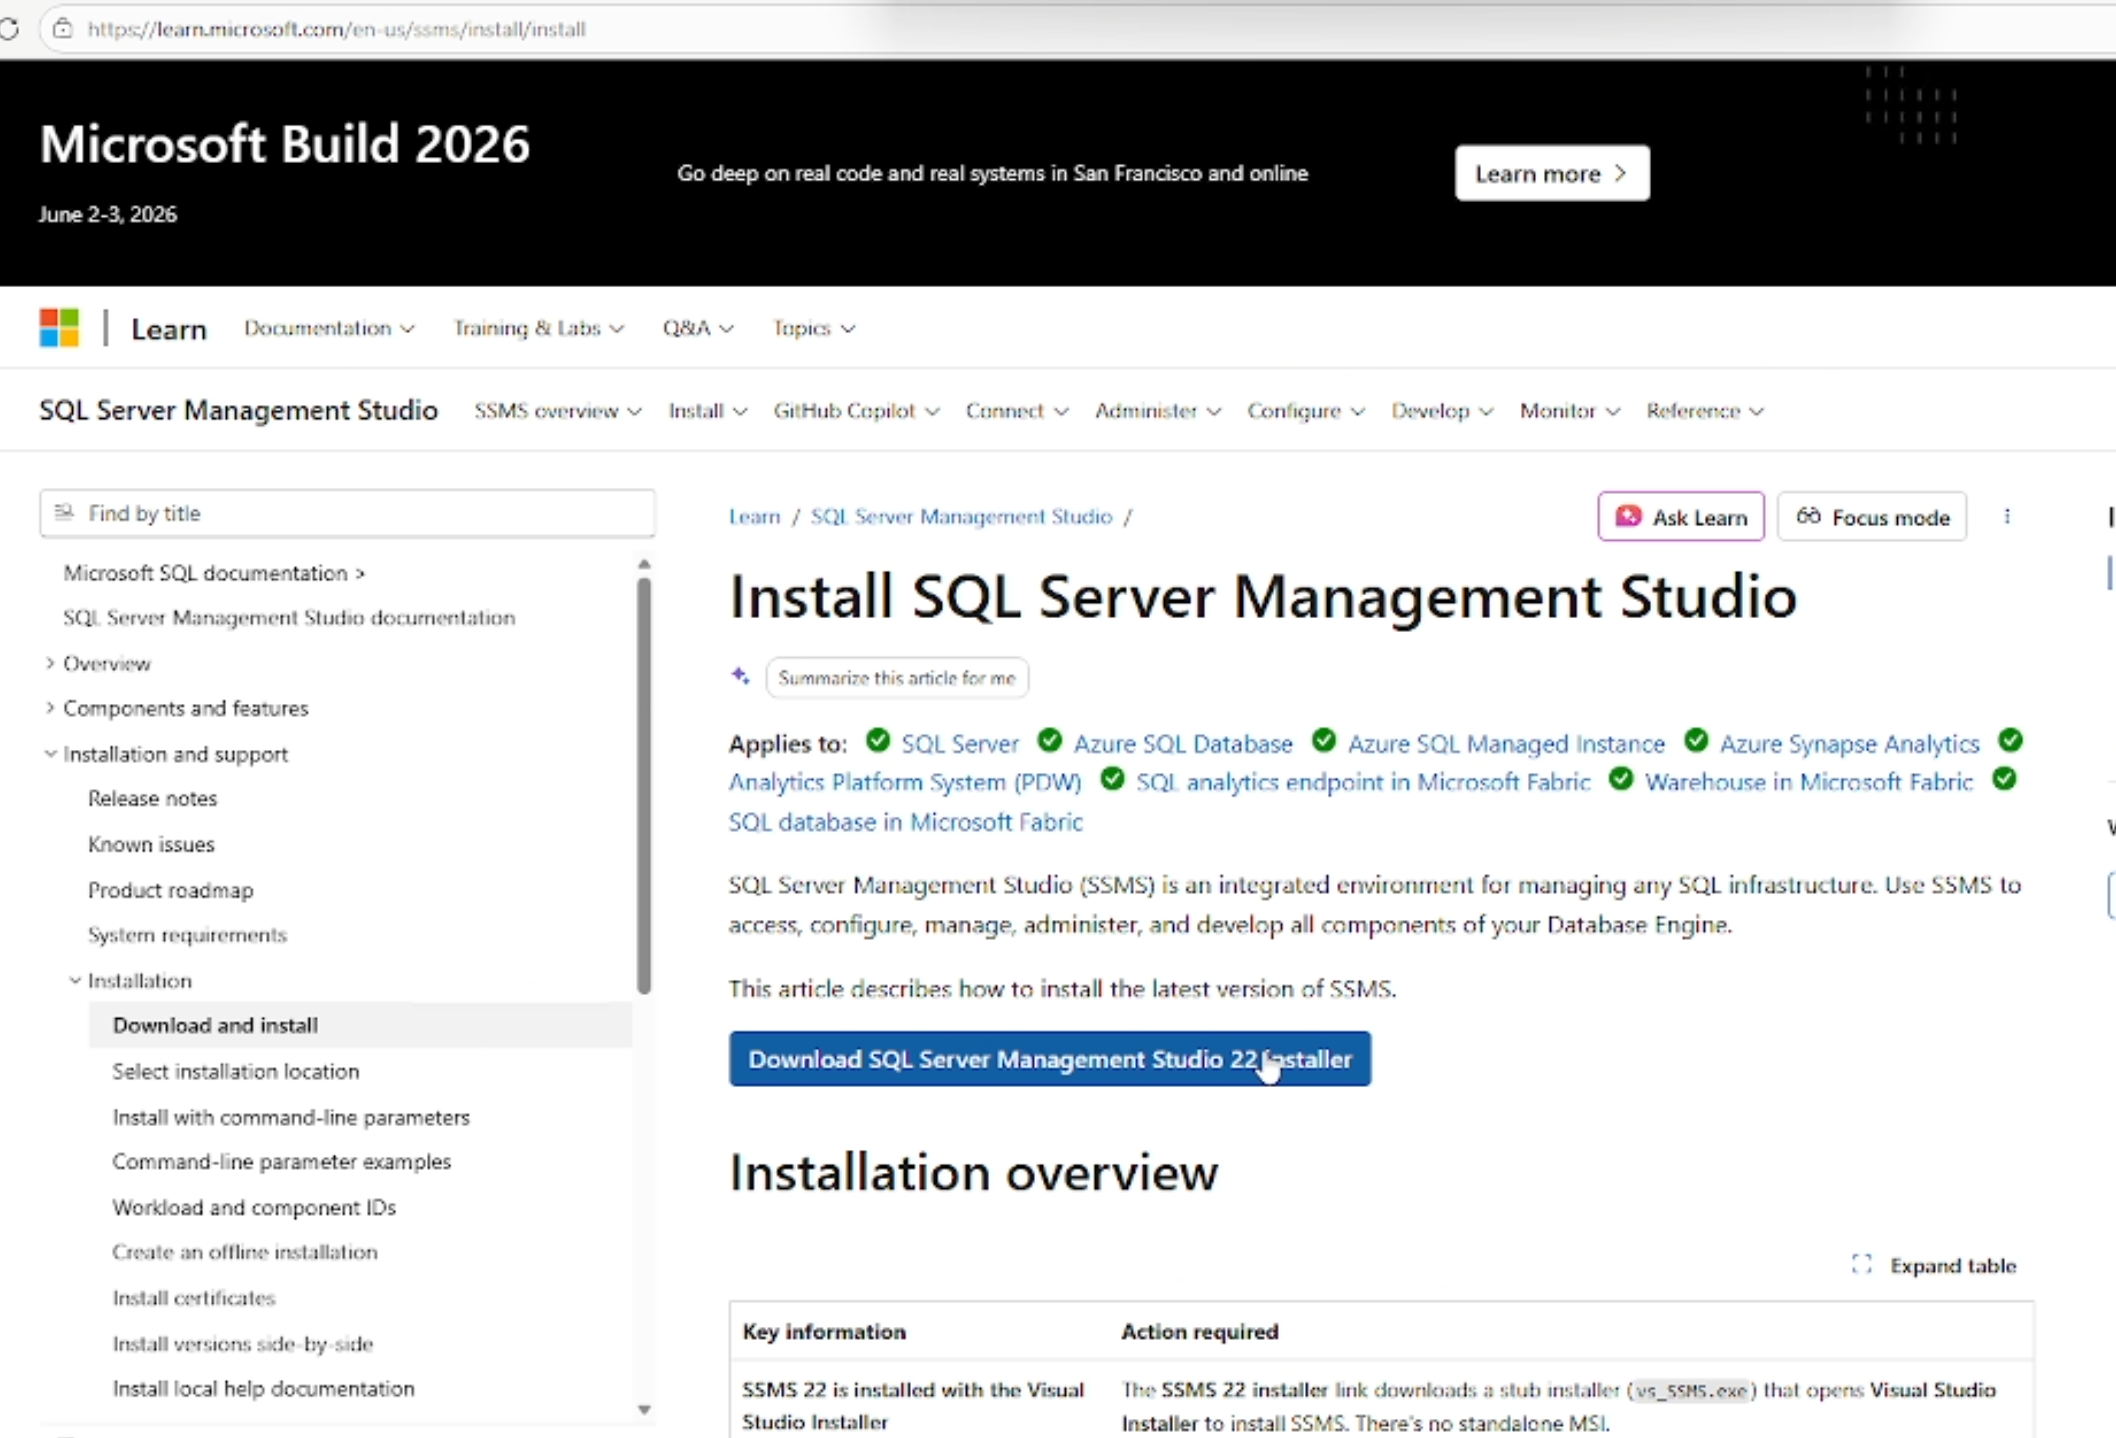
Download
You can download the latest SQL Server Management Studio installer by going to the Microsoft Learn website. Click here for the link to the latest SQL Server Management Studio.
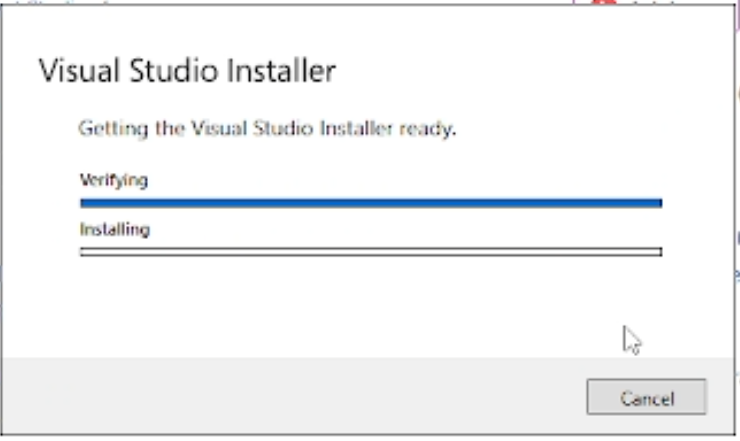
Visual Studio Installer
When you download the installer, what it actually does is that it downloads Visual Studio installer. So download and run the installer to continue with the installation process.
You will then be greeted with this screen.
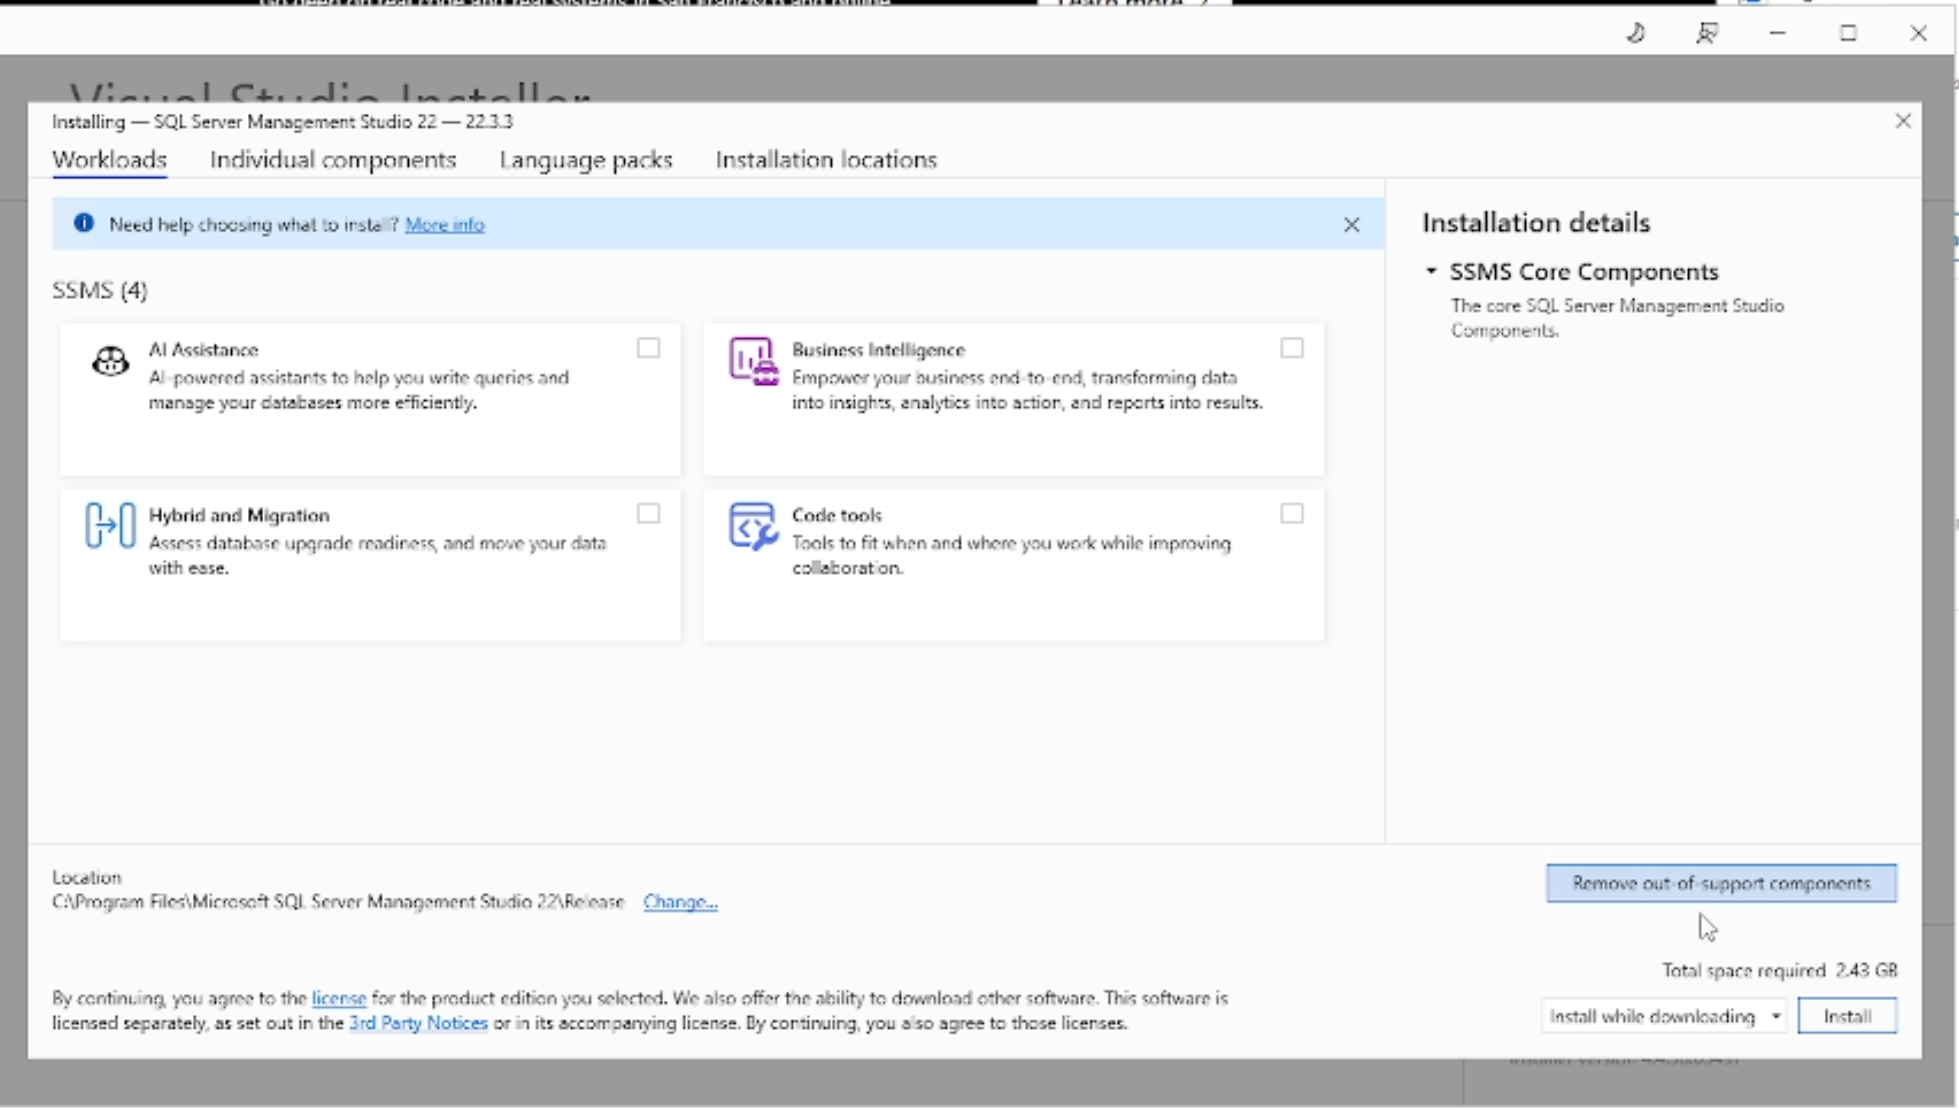
We do not really need any of the other features though, so just click Install.
Installation would not take long. You will then be greeted by this message after installing:
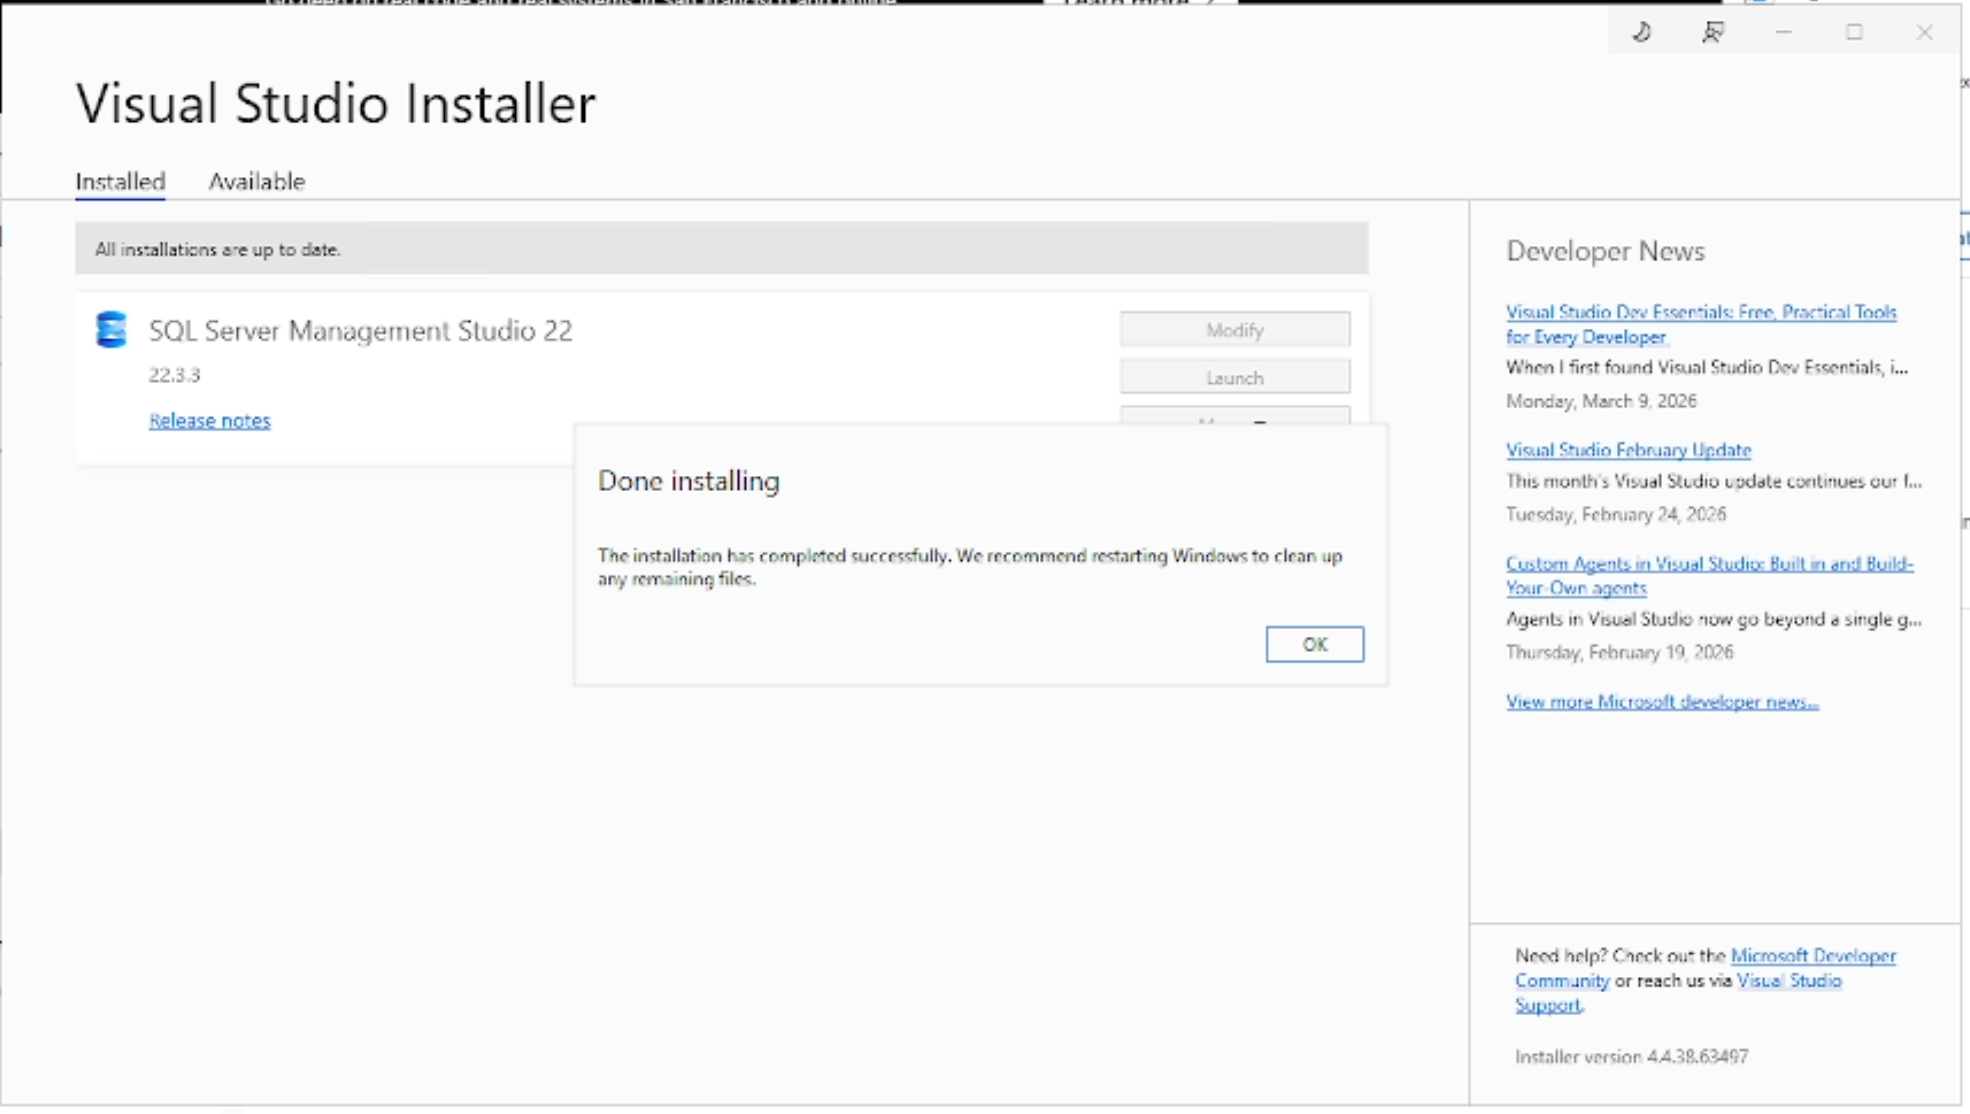
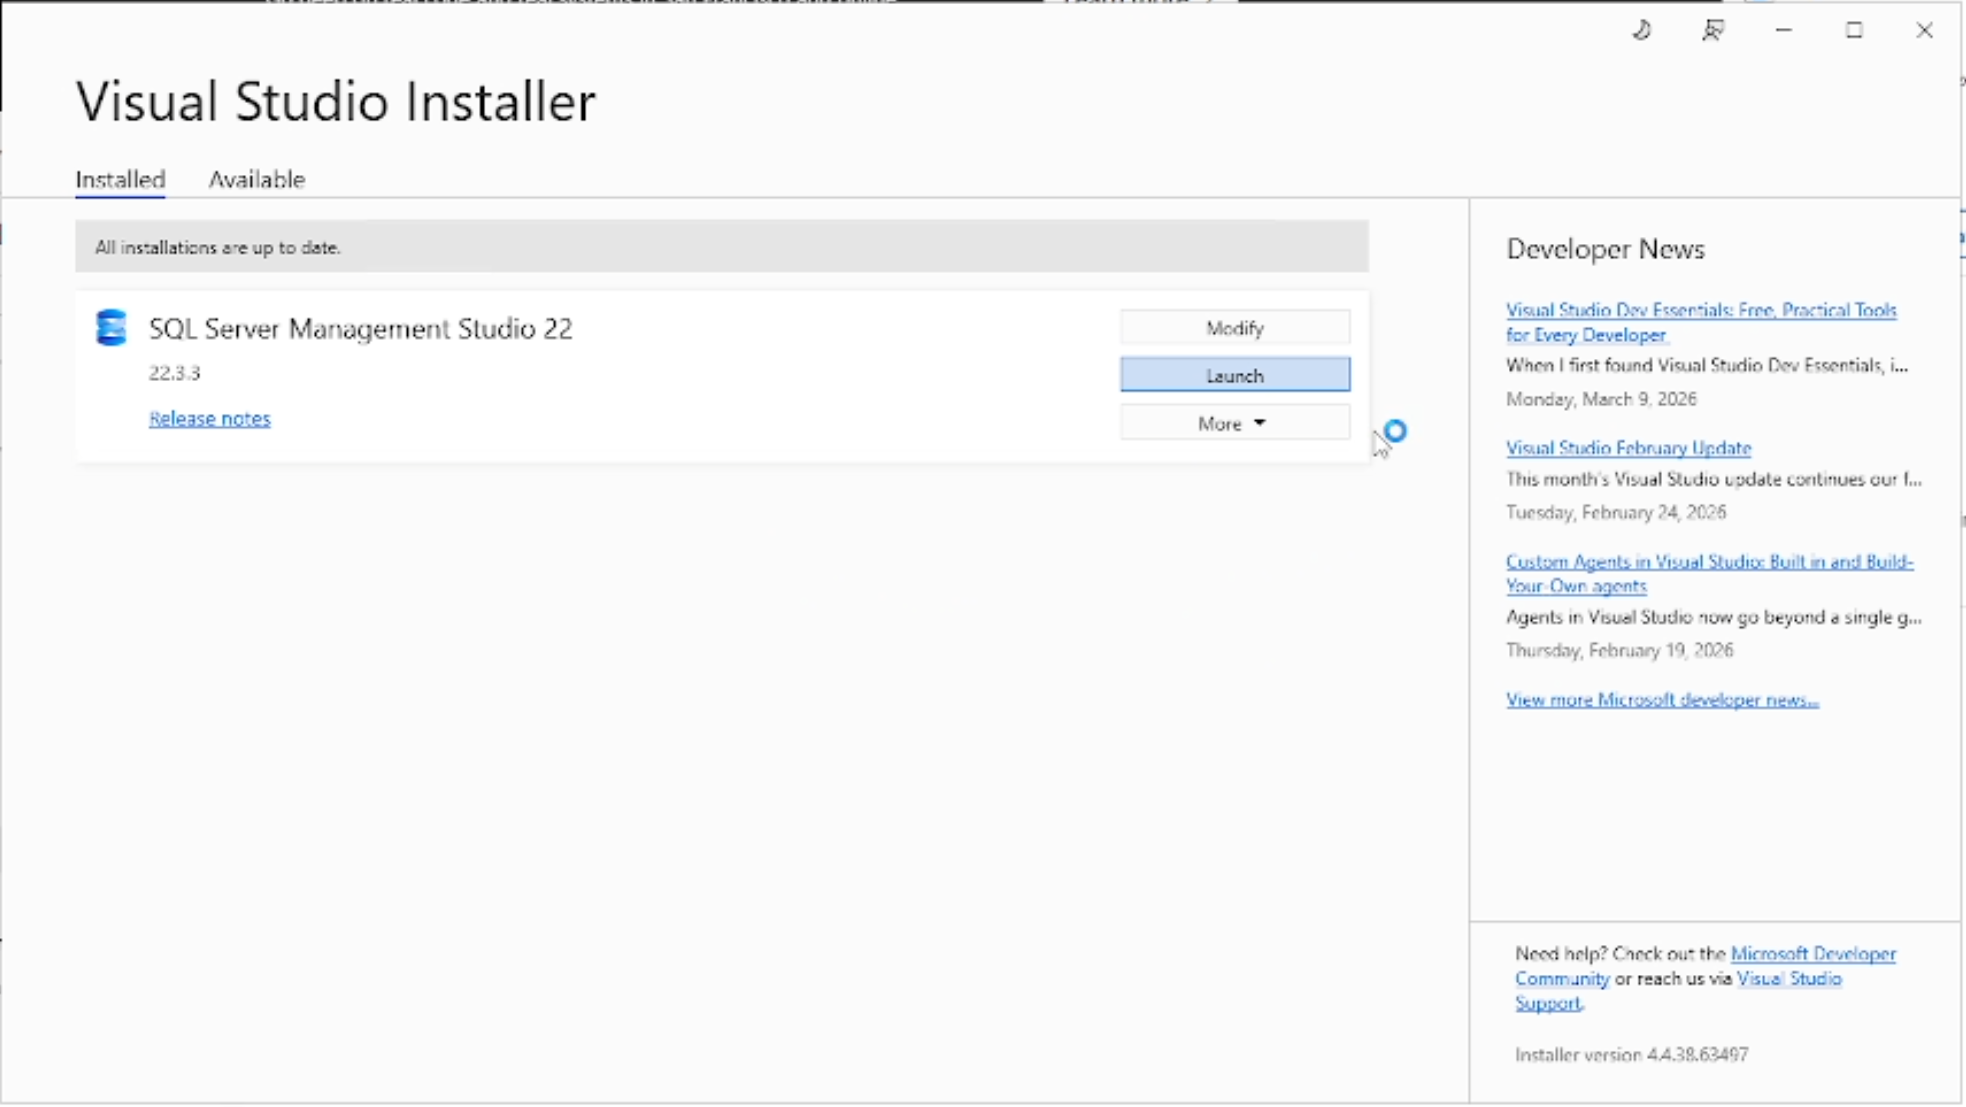
And then, just click “Launch” to launch SQL Server Management Studio.
Launch
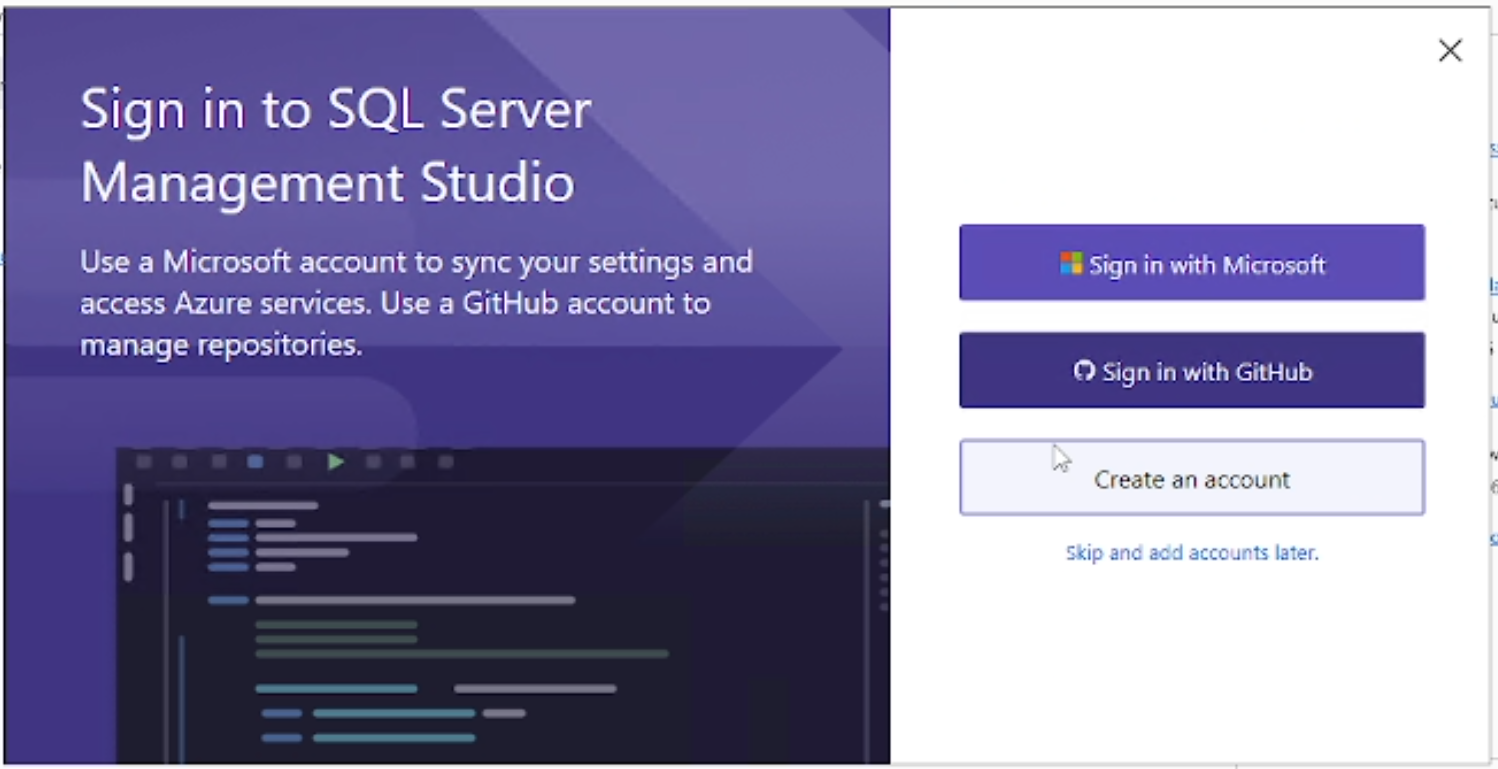
It will then ask you to sign up for Copilot or Microsoft account. You could sign up if you want, but you can also simply click skip if you do not have the patience.
The first screen that will greet you is the “Connect” screen.
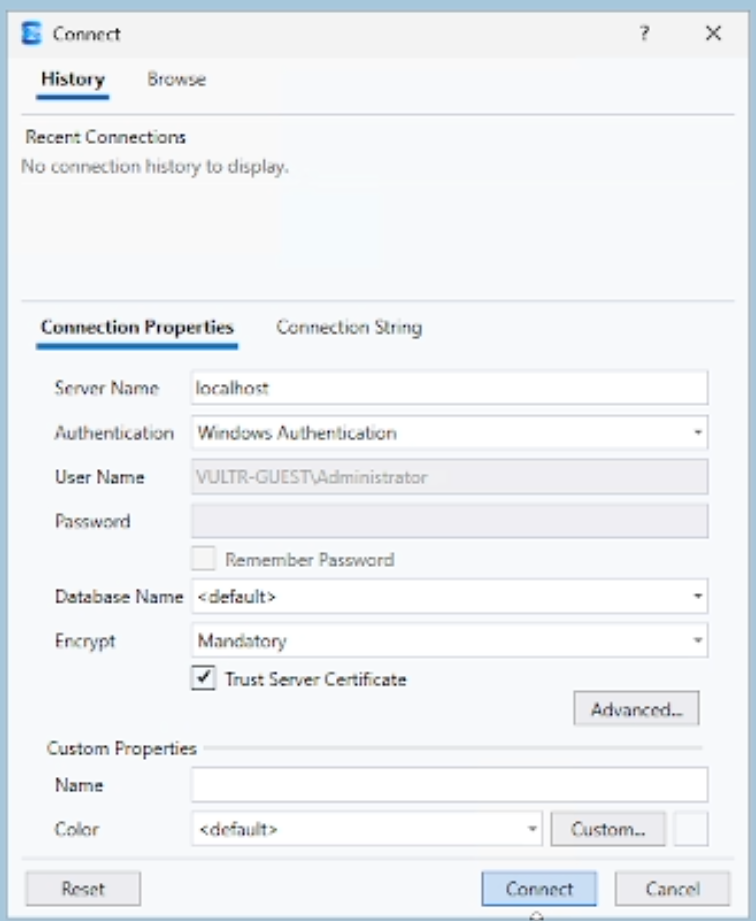
If you have followed the tutorial closely, you will have set the SQL Server to be the default instance and authentication mode should be in mixed mode.
If those are the cases, simply fill in ‘localhost’ in the Server Name field. Check Trust Server Certificate to avoid any shenanigans about expired or invalid certificates.
Complete
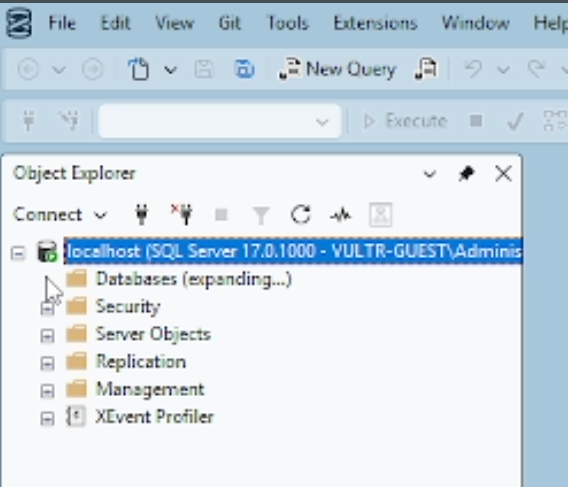
If everything is fine, then you should be able to see the SQL Server that you have installed. Simply expand the Databases folder to see the contents. There is currently no content, but when you have a database, the database will go under the Databases folder.
Install IIS (if not installed)
enable via: Control Panel → Turn Windows features on → Internet Information Services
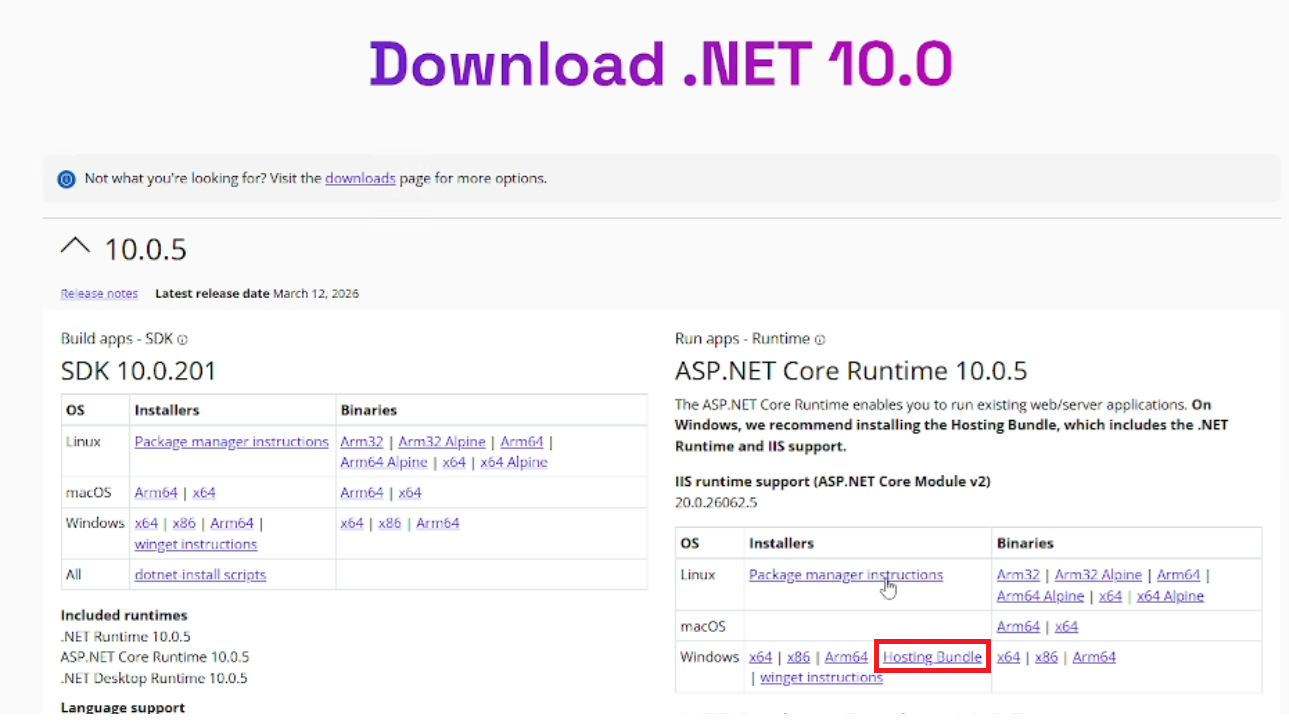
Install .NET Hosting Bundle
From your Windows server, search for the latest .NET Hosting Bundle.
The latest ASP.NET Core at the time of writing is .NET 10. You can download the .NET Hosting Bundle here.
Setup Folders in Server
This is the style I prefer to organize my files and folders in the server. You may choose your own way if you want.
In C:, create folder “www”.
Then, create folder “yourdomain.com”.
Then, create 2 folders: “misc” and “publish”.
The “misc” folder will be our scratch folder where we leave things in a mess.
Our “publish” folder will contain the build files.
Copy
Copy your the published files to the server.
Create IIS site
Open IIS.
Click “Add Website”. Set App Pool.
Install Win-ACME (for automatic SSL)
Install Win-Acme
Done!